Your Artificial Turf Installation & Supply Center

Professional install or diy instructions

Here at The ECO Store we are happy to be your source for FREE information. Let us serve you by answering any DIY questions you may have, big or small. And if you just want a professional installation we got you covered as well!

Artificial Turf Showroom.

Visit us at our artificial turf showroom. Come see samples of turf in large pieces layed out on our showroom floor. This will give you a better visual than small swatch samples. You can also set up a FREE in home consultation or we can take your ideas and design your dream landscape!

NEED A PROFESSIONAL INSTALL?
CALL: (805) 500-3858

OR SEE DIY
INSTRUCTIONS BELOW

HOW TO INSTALL ARTIFICIAL TURF

Pre-Installation Preparation

1. Remove 3-4 inches of existing dirt and grass. If you are removing a large area of grass it may be best to rent a sod cutter. Remove and cap all sprinkler heads. This would be a good time to reroute any irrigation lines.
 
2. Install bender board. This will give the area clean borders and keep dirt/debris away from the turf.
 
3. Lay weed barrier if necessary. This is an optional step. If the area was heavily weeded this might be a good idea but usually laying the base down and compacting is enough.
 
4. Lay down 2″-3″ of road base and compact the base. This is best done with a vibration compaction plate. You can rent these at your local equipment rental stores. It’s also a good idea to wet the dirt a little before compacting. 
 
5. Compact base to a smooth level surface making sure you create a slight downgrade away from the house for water drainage.

Installation

1. Roll turf over installation area as dragging it can damage compacted surface. If possible lay turf out in the sun for awhile before install. This makes the turf easier to work with and reduces wrinkles.

 
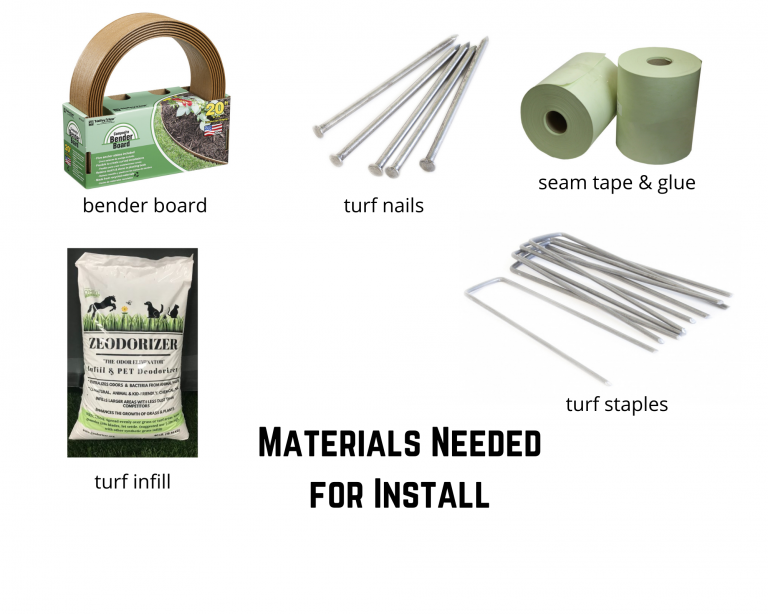
2. When the turf is in it’s place begin cutting edges about an inch “fat” so you can tuck in the edges against the bender board. 
 
3. If you have seams lay the two pieces in place and seam them together using seam tape and glue. Once glued together use turf staples to “stitch” the seam every 6-8 in. 
 
4. Nail down perimeter every 6-8 in. with turf nails. Keep turf blades away from the nail heads so they can sink down and “disappear” into the turf. Be careful not to hammer nails in to deep or it cause a low spot or “dimple” in the surface.
 
5. After the turf is secure use a power broom to stand the bristles up. Spread infill over the surface of the turf and go over with the power broom again. Using a drop spreader makes this process much easier and spreads the infill evenly. This will allow the infill to settle and keep the bristles in an upright position. There are different infills that can be used including products that are made to neutralize pet odors.
 
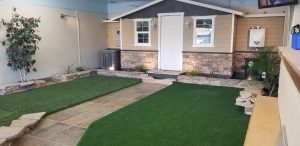
6. Enjoy your new turf for years to come!

Road Base

Please leave info below to be contacted for a FREE Quote or to answer any questions you may have. Thanks!